Video editing is an essential skill in the modern world. It creates everything from movies to commercials and even home videos. So whether you’re an aspiring YouTuber or want to make your videos stand out, learning how to edit can open up opportunities. In this blog post, we’ll look at the basics of video editing software that will take your videos to the next level!
Table of Contents
What is the Best Video Editing Software for Newbies?
Adobe Premiere Pro is among the most popular video editing software programs, even for beginners. It is used by many experts and offers many tools and features that make it ideal for beginners. It provides many features and tools to help users create amazing videos, even with limited experience. For example, users can create professional-looking videos with the help of dozens of transitions and effects, add text and titles, and customize their videos with precise trimming tools. This software also provides access to Adobe Stock, where users can easily find royalty-free images, videos, and music to use in their projects. It’s no wonder why Adobe Premiere Pro is such a popular choice for video editing.
Apple Final Cut Pro X is another ideal choice for those just beginning in video editing. It is user-friendly and intuitive, with vital tools for advanced editing. It’s easy to use, with an intuitive interface and powerful editing tools. With its extensive library of royalty-free sound effects, music, video clips, and other features, Final Cut Pro X is the perfect choice for amateur and professional video editors. Its drag-and-drop timeline makes creating smooth and professional-looking videos easy with little effort. Finally, with its intuitive and streamlined approach, Final Cut Pro X is the perfect choice for anyone just starting in video editing.
Corel VideoStudio is another excellent option for beginners, with a wide range of features, including a drag-and-drop timeline, special effects, and more. The drag-and-drop timeline makes it easy to rearrange clips and create the perfect video. It also includes a variety of special effects and transitions to help make your video look unique. The software also contains tutorials and guides that make it easy to learn the basics of video editing. With Corel VideoStudio, you can quickly and easily create professional-looking videos without needing to be an expert.

Filmora Video Editor is another excellent choice for beginners, with a simple and intuitive interface and a range of advanced features. It’s easy to learn and offers a range of features that can help produce professional-looking results. The software is available for Windows and Mac, so it’s open to many users. The interface is intuitive, and the drag-and-drop editing makes it simple to edit videos fast. The effects, titles, and transitions library lets you get creative with your videos. With its wide range of tools, Filmora Video Editor is an ideal choice for beginners looking to create stunning videos.
CyberLink PowerDirector is a powerful video editing software with various features and effects and a user-friendly interface in English (US). The software offers a range of tools, such as dynamic timeline editing, multi-cam editing, and 360-degree video editing, that are perfect for beginners. Its intuitive interface lets you quickly and easily create impressive videos without experience. It also offers a range of effects and transitions, making it the perfect choice for those looking to explore the world of video editing. Furthermore, CyberLink PowerDirector is available on Windows so that users can work on their videos on the go. With its powerful features and intuitive interface, CyberLink PowerDirector is the perfect video editing software for beginners.

What Video Editing Features Do You Need to Look Out For?
When choosing a video editor, it’s essential to consider the features you need to create the type of content you desire. First and foremost, make sure the video editor supports the kind of video format you plan to build. Additionally, if you add audio to your video, ensure the editor provides essential editing tools like trimming and fading.
Ensure the editor can add special effects such as slow motion, color correction, and other adjustments to enhance your videos. Also, can you add transitions between clips to create a smoother video flow? Finally, does the editor allow you to add titles, captions, and text overlays?

Suppose you’re shooting with a shaky hand-held camera. In that case, it’s essential to ensure the video editor can remove camera shake and other motion artifacts. Additionally, if you plan on working with green screen footage, ensure the editor provides chroma-keying tools.
Finally, does the video editor include options to speed up or slow down clips? Is there an option for color grading? And does the editor support the English (US) language?
By considering these features, you can ensure you select the best video editor for your project.

How to Create and Edit Your Videos?
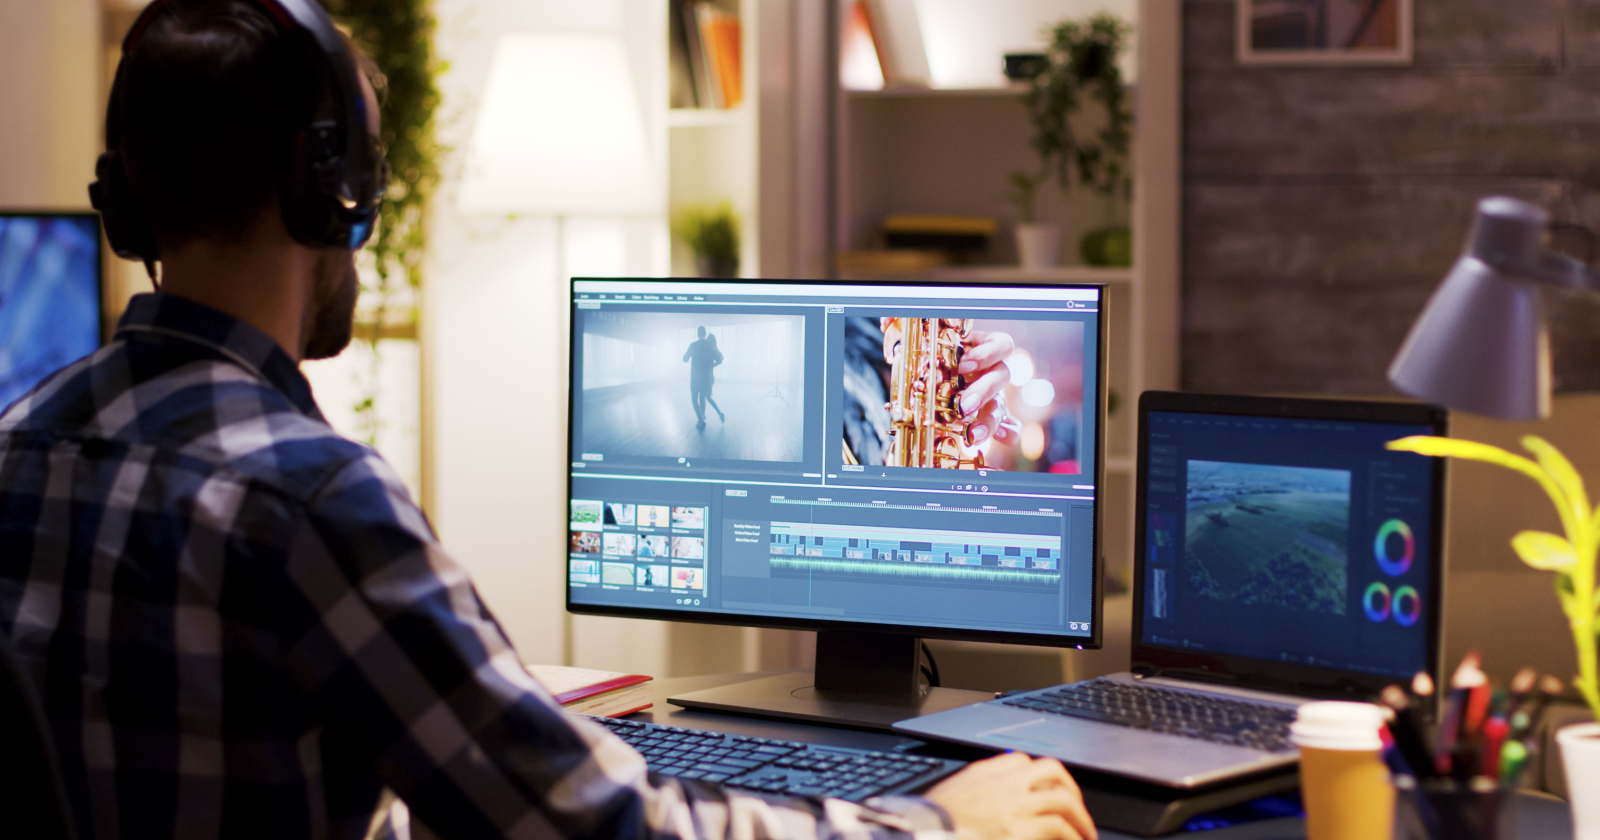
Video editing is an essential skill for anyone looking to create professional-looking videos. Whether creating a promotional video for a business or a personal video for a special occasion, learning the basics of video editing will help ensure the final product looks professional and polished.
Before you begin editing, it’s essential to consider the purpose of the video and ask yourself questions such as: Who is the intended audience? What message do I want to convey? This will help you determine what type of content you should include in the video.
Once you’ve established the purpose of the video, it’s time to start gathering the necessary materials. This could include video clips, photos, music, narration, and any other elements you may want to have in the final product.
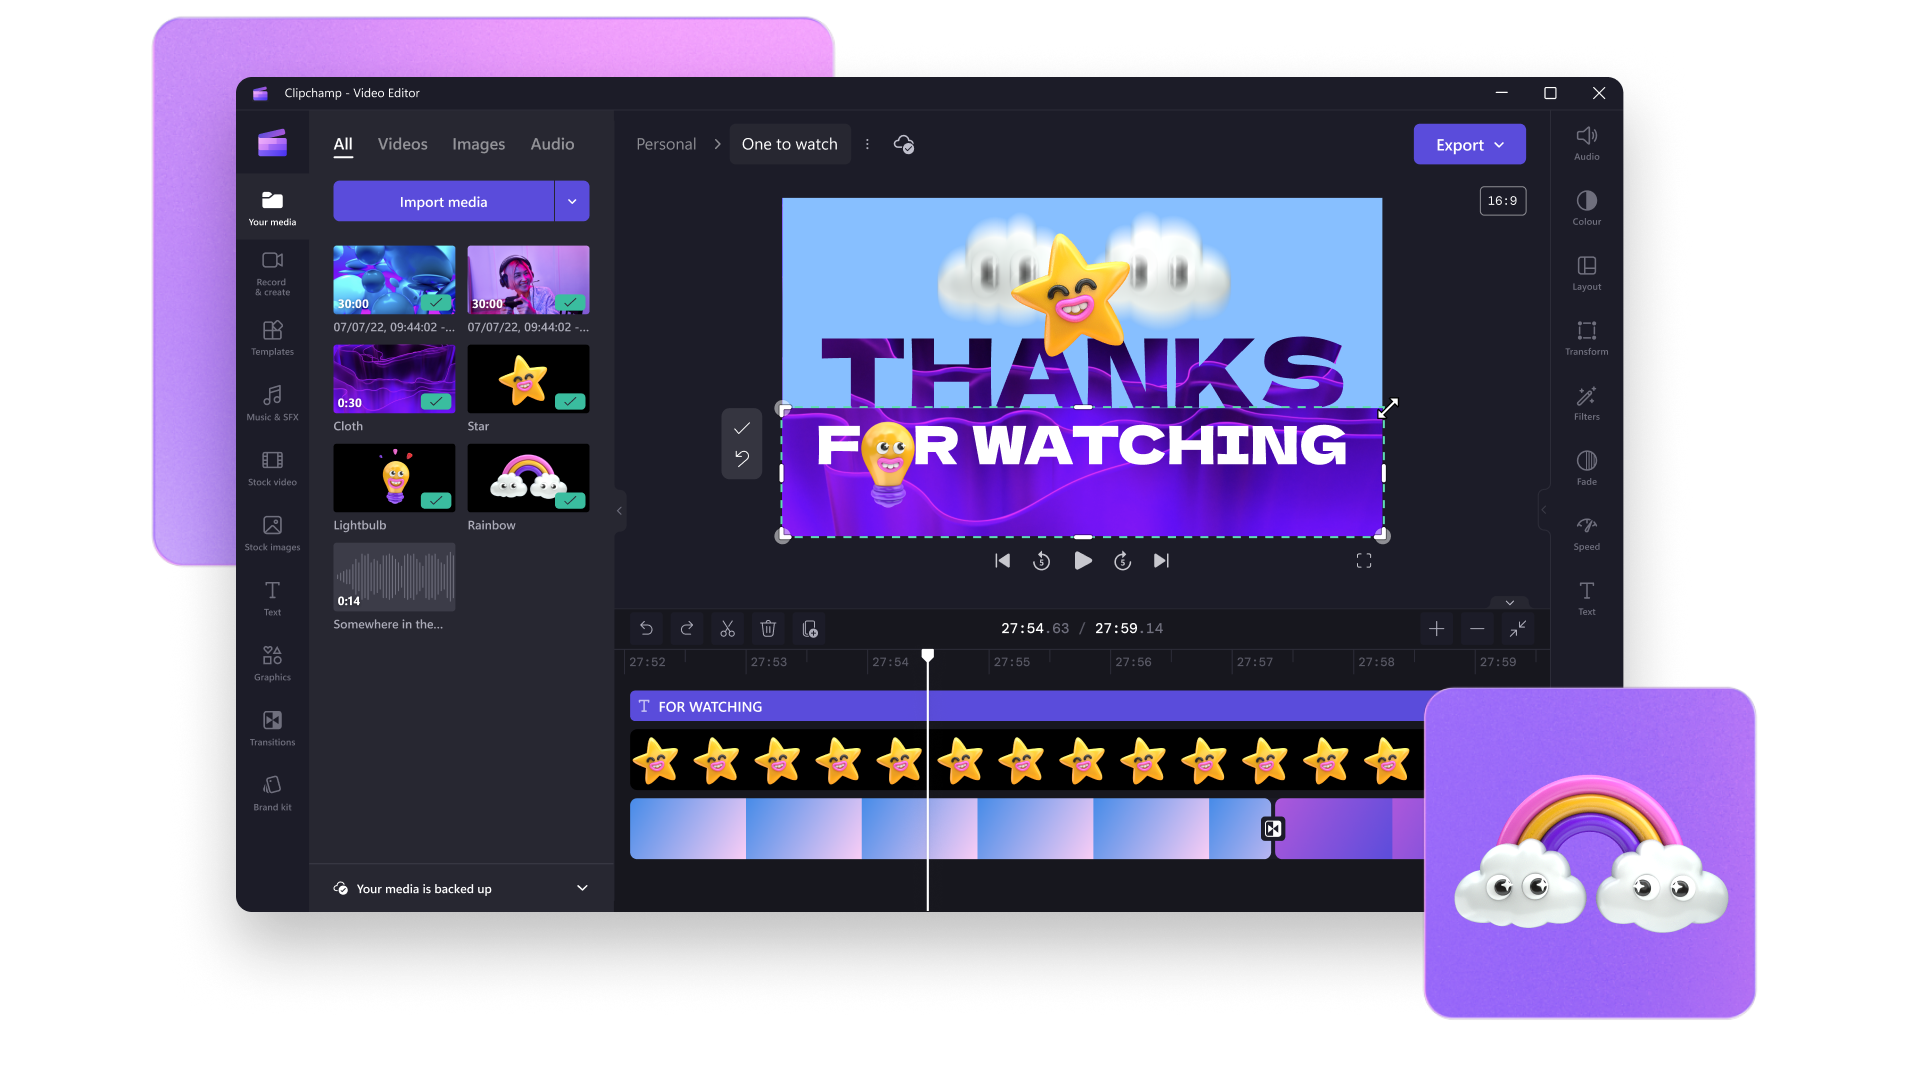
Once you have all the needed materials, it’s time to start editing. Use video editing software to import your media files, then arrange, trim, and edit them to create your desired visual and audio effects. You can also add titles, transitions, and special effects to enhance the video.
When you’re ready, export the video in the format you need, such as a web video, DVD, or Blu-ray. Before publishing, review the video to make sure it meets your standards, and make any necessary changes. Once satisfied with the final product, you can publish the video to the desired platform.

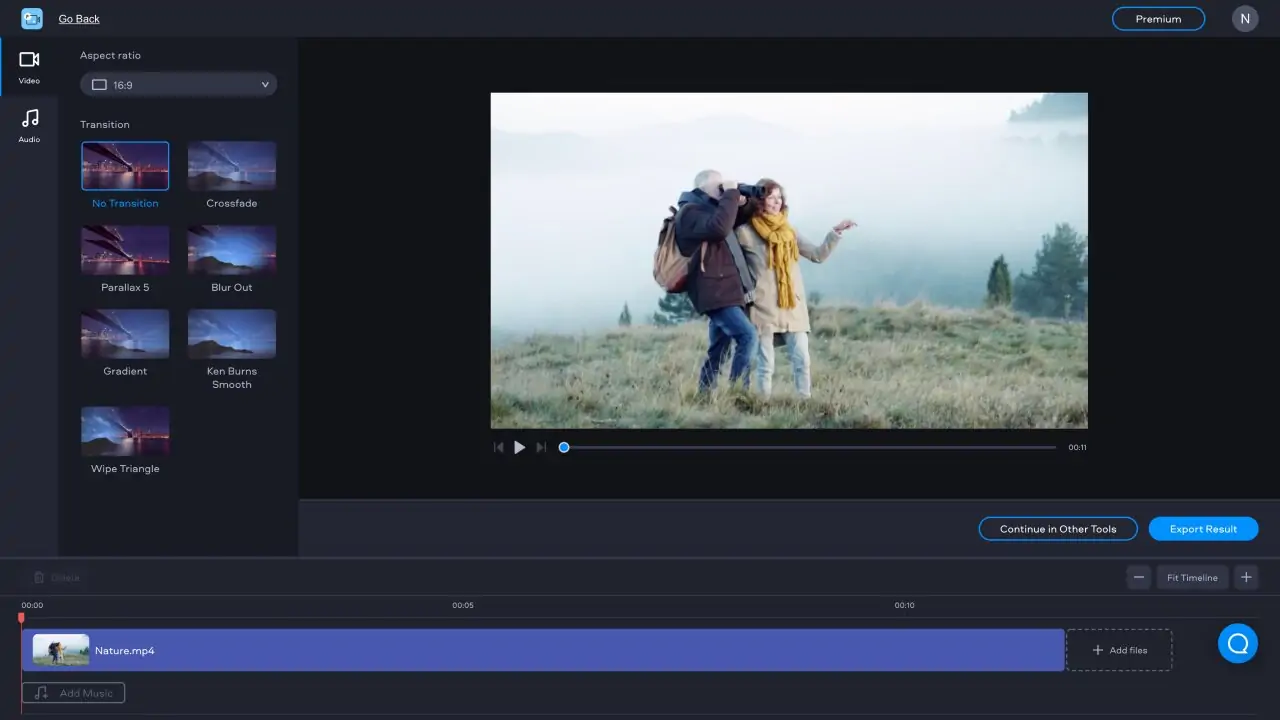
First up, Upload a Video File
Video editing is an integral part of creating content for digital marketing. Therefore, ensuring the video file is in an acceptable format for upload, such as .mp4, .mov, .avi, .wmv, .flv, and .mpeg. This ensures the video file is compatible with the platform you are uploading it to. Additionally, you should check the file size to ensure it is manageable for uploading. If the file size is too large, you may need to compress the file to reduce the file size.
Once the video file is in an acceptable format and the correct size, you can upload it to a cloud storage platform or a video hosting service. This will make sure that the video is accessible for anyone to watch. After the video is uploaded, you can add a link to the video in the blog post so viewers can watch the video.
Finally, you can add captions, annotations, and other elements to the video to enhance the viewer experience. Captions and annotations can be added in English (US) to ensure the video’s message is clear and accessible. Video editing is an essential part of creating content for digital marketing. You can provide your videos ready for upload with the proper steps.
Spice it up, Add Media
Video editing is an essential skill for creating high-quality digital content. With the right video editing software, users can quickly and easily create professional-quality videos with ease. One of the most popular video editing software packages is Video Editing.
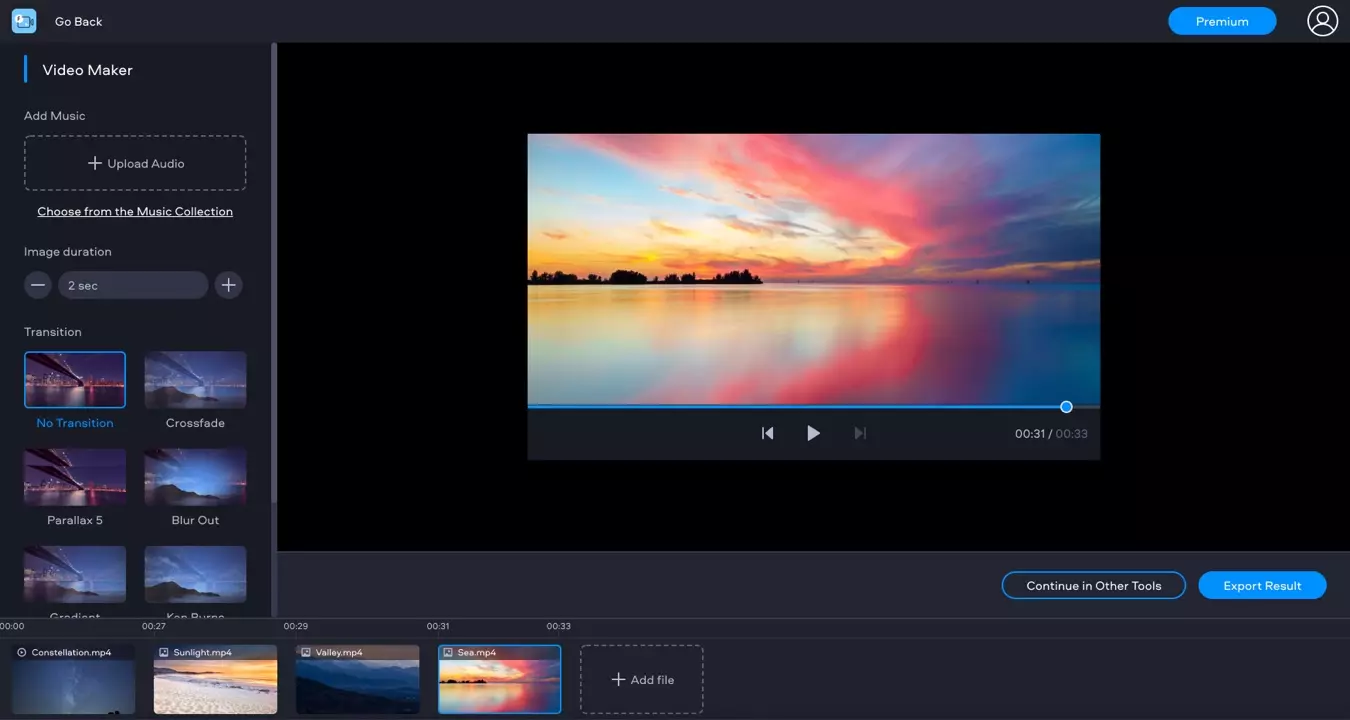
Video Editing makes it easy to add media to a project. Users can easily search for and select from royalty-free media sources, such as stock footage, music, and sound effects. What’s more, with Video Editing, media can be quickly and easily added or deleted from the timeline without disrupting other elements in the video project. With its drag-and-drop feature, media can be quickly and easily dragged and dropped from the media library directly onto the timeline.
Video Editing also makes it easy to adjust the duration of media clips to fit the desired length of the project. Users can trim, crop, and adjust the speed of media clips as needed. Additionally, media clips can be easily duplicated to add multiple versions of the same clip quickly. And transitions can be added between clips to create a seamless flow. With Video Editing, video editing is easy and intuitive.

Now Mix It Up, And Make Edits.
Video editing allows you to alter your videos with just a few mouse clicks easily. It can easily change any clip’s color, speed, or length. You can add special effects and soundtracks to your videos and use editing tools to trim and rearrange clips. You can also add text, images, and transitions to your videos, as well as make adjustments to the audio levels. Once you are happy with your video, save it in various formats for easy sharing.

Don’t Forget To Choose a Format
Video editing is an essential part of creating great video content. When selecting a video format, there are several factors to consider. The type of video you’re making, the platform you’re using, and the types of devices you’re targeting are all important.
The most popular video formats are MP4 and MOV. Still, consider other forms, such as AVI, WMV, and FLV. Different video formats can offer various levels of quality, so selecting the correct format for your project is essential. Also, consider the size and resolution of your video and ensure the format supports it. If you’re creating videos for the web, consider a smaller file size or a format that can be easily streamed.
When selecting a format, ensure it’s compatible with your editing software. Consider the codec in English (US) language. Different codecs can offer various levels of compression, which will affect the quality of the video. Therefore, selecting the codec that best suits your project is essential.
Video editing can be complex, so selecting the correct video format is essential. Consider the type of video, the platform you’re using, and the size and resolution of the video. Make sure the format is compatible with the editing software you have.

Get Creative and Customize
Video editing is an essential part of producing great content. With the right tools, you can customize settings to create a unique video editing experience. For example, you can make fantastic transition effects and add special effects to videos. You can also customize the look and feel of videos with color correction and color grading tools. Additionally, you can save presets to apply the same look quickly and feel to multiple videos.
You can easily create custom audio settings if you want to add background music or sound effects to your videos. In addition, you can change the aspect ratio with the correct settings to create videos for different platforms and devices. You can even tweak settings to ensure a consistent look and feel across multiple videos in English (US) language.
By understanding the basics of video editing, you can ensure that your videos look great and have the desired visual impact. In addition, you can get the most out of every video project with the right tools and settings.

Finally, Time To Export
Exporting is the final step in the video editing process and is the process of creating a finished video product. Exporting involves the conversion of a video file from one format to another, as well as various editing options such as trimming and adding effects. Once a video is exported, it can be used for multiple purposes, such as online streaming, DVD distribution, or broadcast television. Depending on the file size and the video format used, exporting can take several minutes to complete.
Due to the differences in editing programs, it is crucial to understand the specifics of the program being used and its export capabilities and options. For example, some programs may have opportunities to export videos of higher quality or to add special effects and soundtracks. Knowing the program’s features can help ensure a successful export and produce a high-quality finished product.

Share Share Share!
Creating professional-looking videos has always been challenging with Share’s intuitive video editing tools. Share allows you to adjust the speed and timing of your videos quickly and add music, text, and transitions to make your videos stand out. You can also add royalty-free music and sound effects to your videos to help enhance the quality.
Once you’ve created your masterpiece, you can easily share it with friends and family. Share allows you to upload videos directly to popular social media platforms like YouTube and Vimeo with just a few clicks. In addition, you can embed your video on websites and blogs for even more exposure.
A share is an excellent tool for creating high-quality videos without expensive software or hardware. So start with Share today and create professional-looking videos to impress your viewers.

What are the Common Mistakes to Avoid When Editing Videos?
Video editing is essential to creating great videos, and several common mistakes can be made. One of the most common mistakes when editing videos is not adjusting the audio levels. If the audio levels are kept the same, the sound will be distorted and not as crisp and clear as it should be. Another mistake is using too many transitions. Too many shifts can make your video look amateurish and unprofessional.
Stick to a few simple changes and use them sparingly. It is also essential to adjust the colors to ensure they look great. Using a good video editing program is also a mistake. Do your research and find a program that works for you. Finally, take your time with the editing process. Editing videos can be time-consuming, and taking time is essential for creating great videos.

What Tips Can I Use to Improve the Quality of My Videos?
Creating professional-looking videos can be challenging, but with suitable investments and practice, you can create stunning videos that your viewers will love.
Investing in quality video equipment is the first step in creating quality videos. Investing in high-quality cameras, lenses, and microphones will ensure your videos look professional. Additionally, investing in good lighting can make a massive difference in the quality of your videos.
The next step is to use appropriate audio for your videos. This includes background music, sound effects, and voiceovers. Again, taking the time to find the correct audio elements will help improve the overall quality of your videos.
Once your audio and video elements are in place, it’s time to edit your videos. Editing your videos is an essential step in improving their quality. Make sure to trim any unnecessary parts, add transitions between scenes, and adjust the color and brightness. Investing in good video editing software will make it easier to edit your videos and add effects.
Finally, practice is vital to improving the quality of your videos. Take the time to learn about video editing and experiment with different techniques. The more you practice, the better your videos will look. You can create stunning videos with suitable investments and practice that your viewers will love.


